Updated: September 2022
The way you showcase what you sell can be the difference between lots of sales and zero sales.
In today’s visually dominant society visual presentation is everything…but hiring a professional photographer isn’t in everyone’s budget. Luckily, there’s an alternative for taking sales-inducing product photography – and it’s totally ~free~.
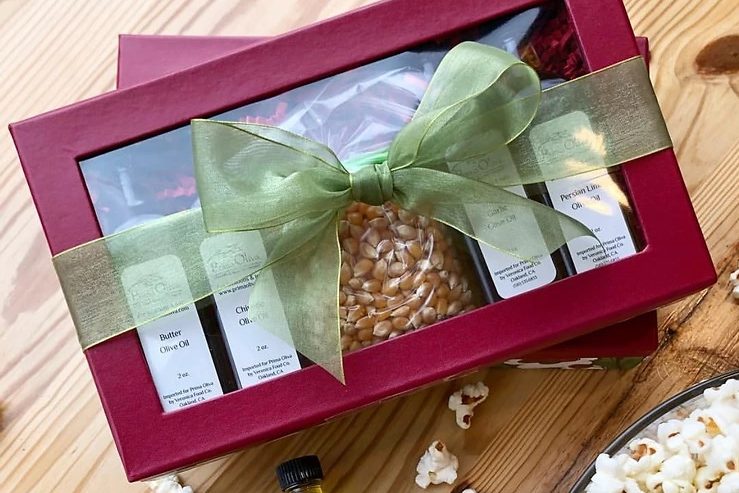
Product photography is exactly what it sounds like… taking photos of your product. “Product” in this sense is literally whatever it is that you’re trying to sell, be it food, clothing, furniture, flowers, pencils, etc. What is the objective of product photography? Your goal is to attract potential buyers and get them to purchase your products. Duh. Simple enough, right? Not so much. There’s a lot of competition out there, so when it comes to product photography you need to take the time to do it right.
Here’s how to do it right:
#1: Always always plan ahead
Do. not. skip. this. step. Trust us – it’ll cost you. Answering a few simple questions will get you on the right track from the very beginning. For example: What’s your budget? Where are you shooting? What shots do you need? Do you need to hire models? Do you need photos for your website, social media, print, or all of the above?
Now that you’ve figured out how much you’re willing to spend, who you’ll need, and what kind of shots you need to take it’s time to get shooting. Before you pick up a camera or your smartphone, put together a shot list. This list should include all the images you need to capture during your photoshoot – make sure to include specific angles you need, details you want to highlight, and anything extra you need for different looks such as models, props, equipment, etc.
#2: Stage the space
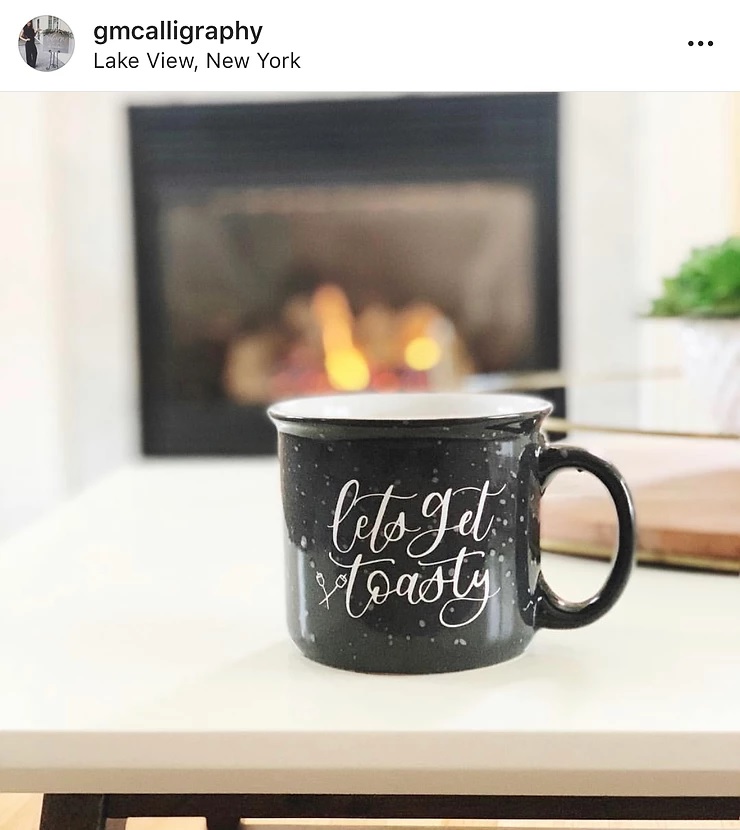
Amazing product photos don’t just happen by accident or naturally. Staging is everything, and by investing five extra seconds to play with different props your behind-the-scenes efforts will pay off in a really sexy product shot. If you’re working with a minimal budget be creative and resourceful. Ask your friends to model for the day, build your own photo studio, explore outdoor spaces, etc. Bribe them with free stuff, treat them to dinner, or tell them about all the Instagram shots they’ll have for their page. If that doesn’t hook ’em what will?
With a few good props, the right lighting setup, and DIY backdrops, you can transform an empty room into a makeshift photoshoot space. The more creative you get, the more you can save.
Take backdrops for example. Buy a sweep or make your own using a chair and a roll of white craft paper. Wait what’s a sweep? A sweep is a backdrop that seamlessly transitions from a vertical surface to a horizontal one. You can create your own by pushing a chair against a wall and taping craft paper on the wall allowing it naturally fall to the ground. See? Easy peasy.
#3: Invest in a few extras
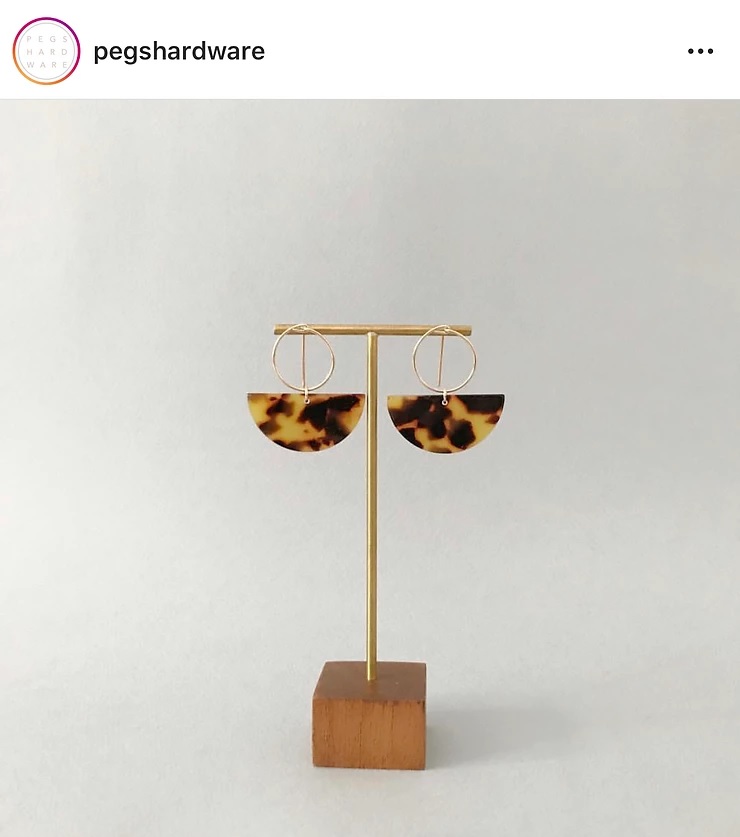
Blurry product images are bad news bears. Investing in image stabilization equipment will make your life way easier, but if a DSLR camera and a tripod aren’t in your budget you can opt for a smartphone mount instead. This is a budget-friendly and easily transportable option that will make your pics SO much cleaner.
External lenses come in handy too. There are ones specifically designed to work on smartphones to enhance your camera’s perspective so do your research and find the right type of lenses for your iPhone or Android device. Think about your shooting situations: Do you need a lens to get close-up details or one to capture a wide-angle landscape? With the right lens you can attach, aim, and shoot. It’s really that easy.

#4: Use natural lighting whenever you can
Bad lighting can ruin a shot, and sometimes even editing can’t save it. If you don’t have access to a professional photography studio, no worries – most people don’t.
You can invest in a lighting kit, but the easiest and most budget-friendly option is natural window light. Why? Windows are everywhere. Plus, natural lighting coming through a window has a single direction. And this means natural shadows which means natural texture.
Time of day is an important consideration because brightness is key. You don’t always need full sunlight to take a great photo, in fact overcast days can actually be much better photoshoot days. Play with the highlights and shadows and see what types of lighting works best for your products. And remember, different products will require different lighting…so take notes. Once you find when and where the best lighting is for your photography purposes, you’ll be golden like the sun.
#5: Try new angles and shots
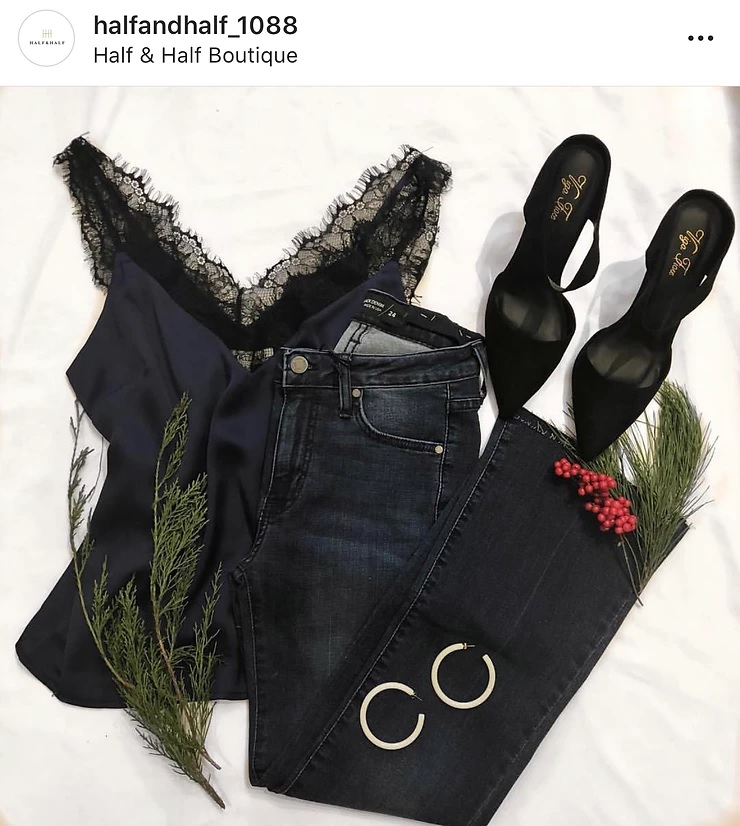
If it’s not working, it’s not working. Taking the same photo from the same angle over and over again won’t magically change your photo. Start with a eye-level straight-on view of your product. Hate it? Switch it up. Are you standing? Sit down or lie down. Shoot from below and shoot from above. Experimenting with low, high, and slanted angles will give you new perspectives. Think about the features you want to highlight then try a bunch of different ways to capture it. Worst case scenario you have a lot of photos…which is actually a good thing.
Stand on a chair if you have to (not kidding). 9 times out of 10 the overhead a bird’s eye view is worth it. Pro-tip: If you do shoot from directly above make sure to watch out for shadows!
Product photography is all about trial and error. Different shots work for different products, so shoot your products from every angle you possibly can. Plus, an all-around view tells people more about your product since your product photos should ultimately help your potential customers picture themselves using your product.
#6: Get creative and stay fresh
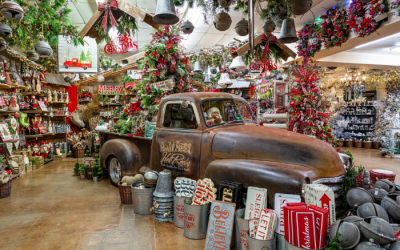
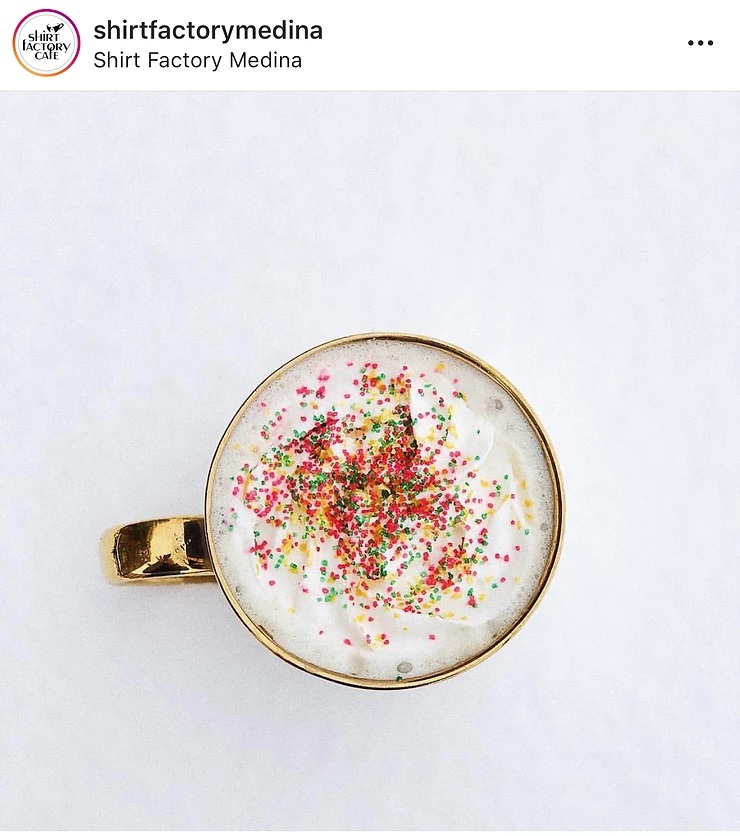
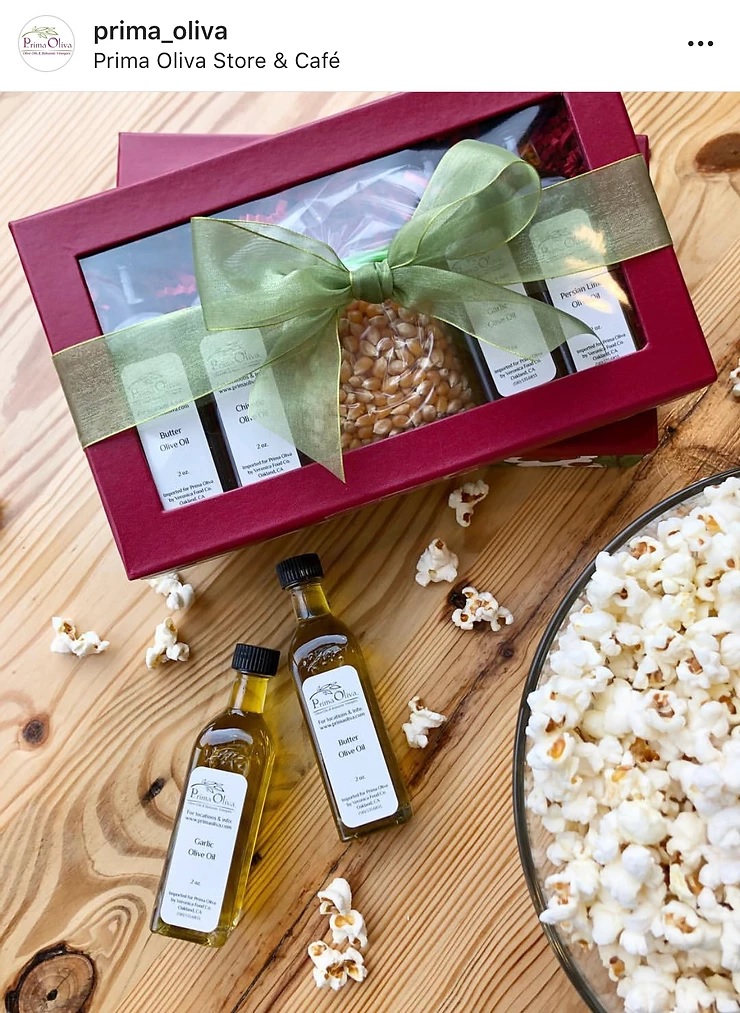
Good props and backdrops are everywhere, you just need to look. Again, be resourceful. You don’t have to splurge on a ton of props to put together an interesting product shot. Look around your shop, your house, your friend’s house, or your favorite local hangouts for inspo – you’ll be surprised with everything you can find when you have backdrops on your mind.
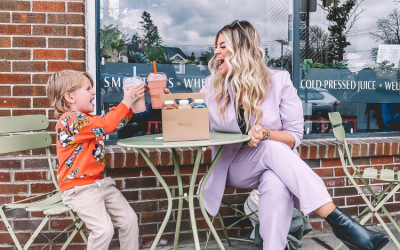
If your feed is full of the same shots over and over again, or worse the same exact image, people will become confused and disinterested. If you’re go-to is a flat lay, try portrait mode instead. If your feed is full of products, add a few friendly faces modeling your products to the mix. Even a hand or torso will suffice. Variety is everything.
The takeaway
Before you rent a fancy smancy camera or assume you can’t take really sexy product photos, re-read this guide. These tips are simple, easy-to-follow, and budget-friendly aka you CAN do it. A little planning, staging, and creativity really go a long way – and of course good lighting is key. When you start photographing more strategically, you’ll start impressing shoppers more and more and that will lead to more sales.
______________________________________________________________________________________________________________________________
Want to know more about promoting your business on StepOutBuffalo.com? Contact us!
At Step Out Buffalo, we help businesses promote themselves and their events on our website, email, and social media channels. Our team is comprised of experts who know exactly how to make your business or event stand out, and we’ll put you in all the right places so you get noticed by all the right people. Hit us up if you’d like to learn more about our business and/or events-based promotions – there’s a reason 94% of our readers go places they’ve seen on StepOutBuffalo.com

